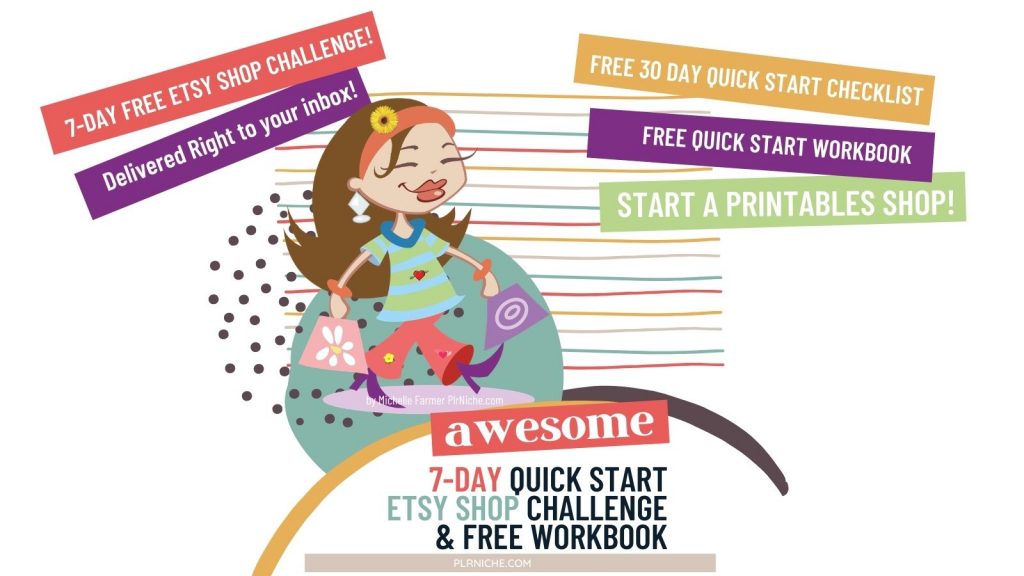
Welcome To Day 4 of the Etsy Shop Quick Start Challenge!
Let’s look at what you’ve done so far!
Dashboard
Day1 Set up Etsy Shop
Day 2 Research
Day 3 Make Product
You should have your Etsy shop created, also done some research on the keywords that you want to use for your listing, and made a new planner with a template you have. And remember you don’t need to go crazy with this, just change the color of it which is easy in PowerPoint or canva. Change the fonts, another easy thing to do with the Replace Font Tool inside PowerPoint.
Don’t overthink this, add a daisy background to the planner and call it a day. You will notice in your research that some of the best sellers might have flowers or be a minimalistic features. Pay close attention to that and try and use that design feature in your planner.
We don’t want to copy what they have, but use that in a different niche than what the best seller’s niche.
Say you see a daisy background planner selling in the Teacher Niche so add that to one of your Sewing Niche planners.
The point is we want to list as many products that we can in the quickest amount of time. We’re going for quantity to fill up our shop quickly. That’s why we buy PLR, that makes it so much faster for us to reach that goal.
Now you’re ready for the next step.
DAY 4 CREATE PICTURES or MOCKUP CARDS FOR YOUR ETSY LISTINGS
Today you’ll learn how to create pictures on Canva for your listings and tips on making them quickly.
The Goal For Today:
- Make 10 graphics (mockup cards) for your Etsy listing on Canva. The more the better.
- Download the jpg images from Canva to your File Folder on your computer. I name each folder for the project I’m working on.
What you need for today:
- Canva free version
How To Create Pictures For Your Etsy Listings
The first thing I do is create a folder on my computer for all the jpg images of the different pages I will be offering in this listing.
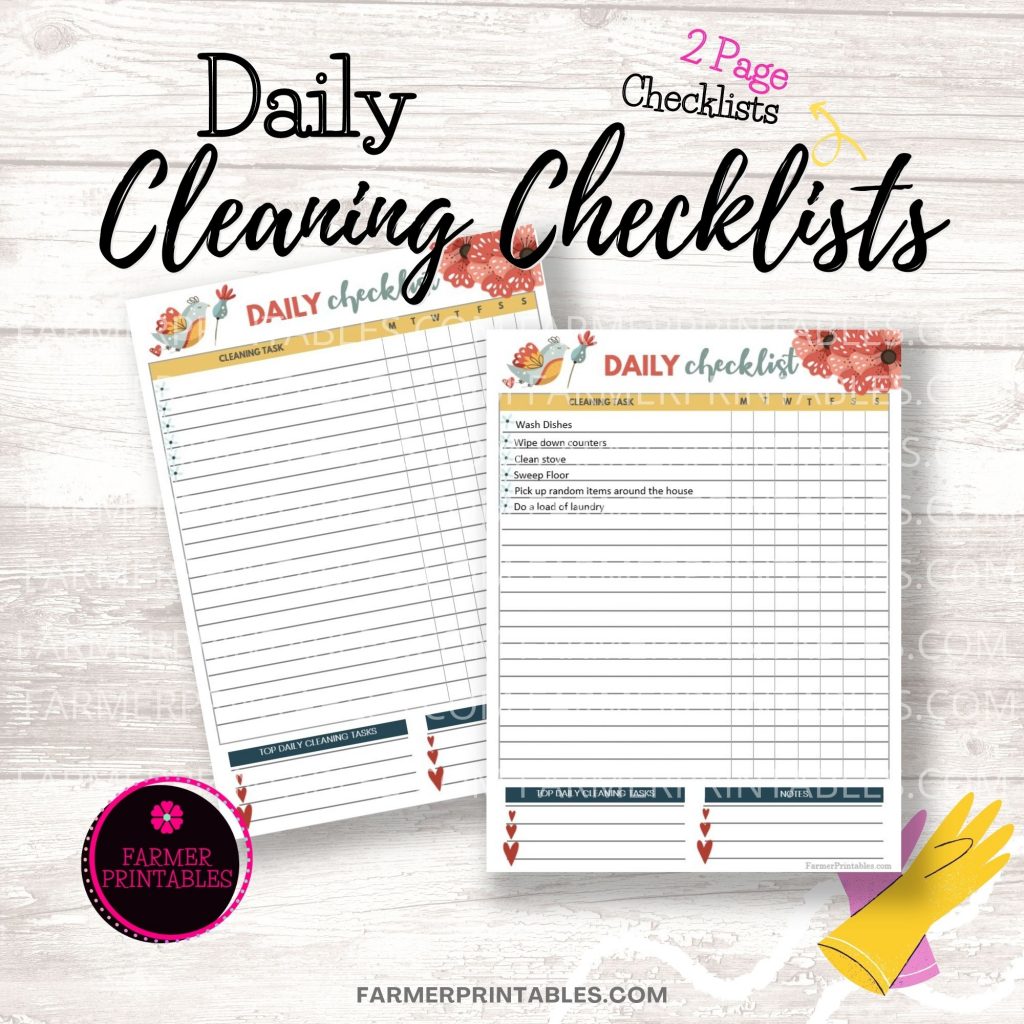
My first product is the 2 Daily Cleaning Pages. So I only need to take screenshots of those or you can download from Canva or save as JPG in Powerpoint, just those for this project.
I used to screenshot everything but then I found out that in PowerPoint you can save all the planner pages to JPG. This will give you a JPG picture of all your pages in your planner. Cool! I just learned how to do this! I’m a little slow, I had PP for a year before I figured this out. Lol!
Then I go over to Canva and create new pictures showcasing my printables. If you have trouble getting started I recommend Very Cool Banners and Mockups for your Etsy shop. MaryJo of Cool Beans created an exclusive special price just for us! Use coupon code: PLRNICHE to get the her Etsy Mockup kit for only $9 instead of the normal $27 price.
Save Time With Copy Feature on Canva
Once I created the set of graphics I want to use for my Etsy listings, I will then make a new copy of that set and use it for my next listing. This makes my Etsy shop all look the same. Well mostly, I keep changing my mind. Lol! But the overall theme is the same.
Now that I have my listing graphics finished, I will just copy my original template, then all I have to do changed out the wording for each product to match my listings, change the pictures, and I’m done!
Here’s an example of one of my listings:
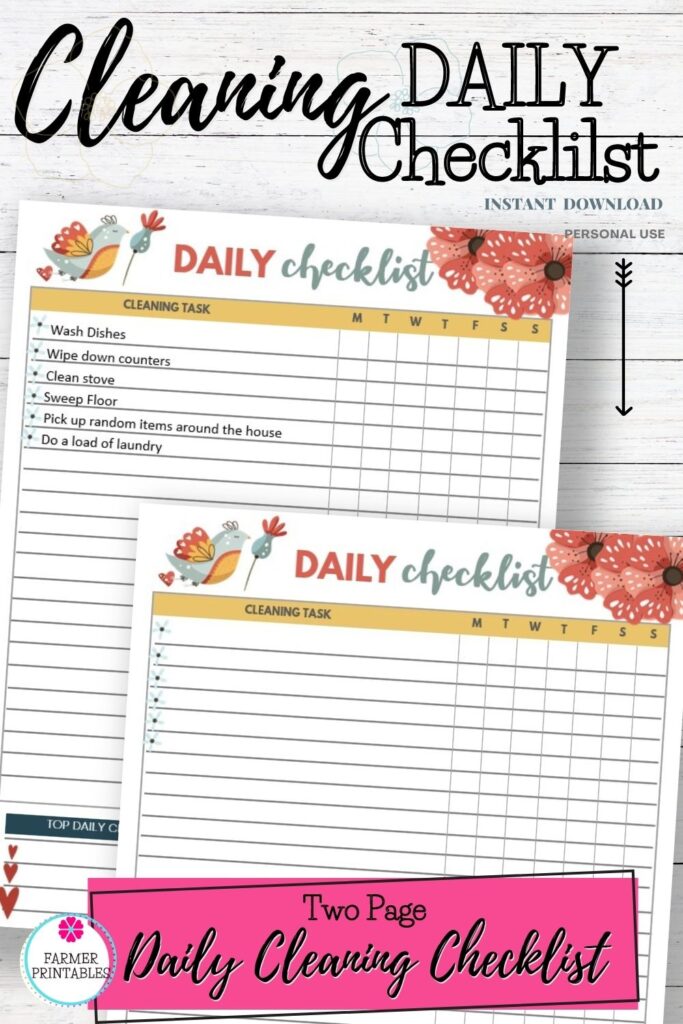
For example, I copied one of my last listing pictures and now I’m working off the copy, I changed the title of the template to match what I’m selling to Daily Checklists, then changed the title on the template. When I’m finished, double-check to be sure I changed the title of my template to match my new listing before I download it to my computer.
Here’s an example of a 2000 x 2000 size below of my personal use printables shop. I use this size on at least one of my listings so I can use this on Pinterest. But that’s up to you if you would rather not use Pinterest then don’t worry.
I built my newest shop without using any social media accounts at all. So don’t think you much have it to become successful on Etsy.
I love using mockup templates because when I hover over the areas where my pictures go, it slides right in place. I don’t have to adjust it or anything.
Step-By-Step Instructions
- Open up Canva
- Make a copy of your listings template or make a new one from scratch. If you don’t have templates already, then you’ll need to create a 2000px x 2000px size area for your Etsy listing pictures. You can add up to ten pictures to your listing.
- Rename that template and close the original before you start messing up your original template. (Done that before!)
- Upload all the pages of your planner to Canva that you are going to showcase in your listing picture. That’s the screenshot pictures or JPG of your PowerPoint checklists or planner.
- Add those to your mockup.
- Change the wording to match your product. Also, add how many pages they will get and what page size they get, and so on.
- Add your logo and shop name.
- Add several lines of text with your shop name and make it white
- Download the jpg to a folder on your computer.
- One cool thing you can do is make a video of your shop to add to your listings. I chose several of my best sellers in my shop to make it. I add that video to all of my best sellers.I highly recommend this if you want your listing to stand out.
That’s it, save your finished mockups to a file on your computer so you can use them tomorrow when you list your item on Etsy. Woohoo!
You’re all set.
I hope this challenge has helped you get started selling printables on Etsy. I like to work in chunks of time. Breaking them down into little steps has helped me get a lot more done with my own printables business. I’m sure it can help you as well.
I like to work in chunks of Researching, Creating, Listing, Talking to Customers..Researching and so on. I am laser focused on my Etsy shop. I’m just not going to quit until I become successful. That means I’m constanting looking for best sellers on Etsy and trying to improve my shop every week with new items.
And don’t try to get everything perfect, just get things in your shop and move on. You can fix things as you go. Also don’t change anything that you made before, leave those and focus on new items. After a couple of years you can get rid of the old listings that are not selling. But some of my items don’t start selling until a year later. Maybe it’s like fine wine you just have to let it sit for a while. Lol!
Homework:
- Take screenshots of product pages from PowerPoint or save them as JPG or download those from Canva.
- Upload them those images to Canva.
- Create at least 10 pictures showcasing your product.
- Download them to your computer.
- If you’re feeling like doing something fun. Make a small video in Canva of your best selling products that you can use on all your listings. I just use them on my Best Sellers.
Download Your Workbook at the link below.
DAY 4_7 Day Quick Start Etsy Shop Challenge
💖Tomorrow adding the first product to your shop!
Wishing you much success!
Michelle