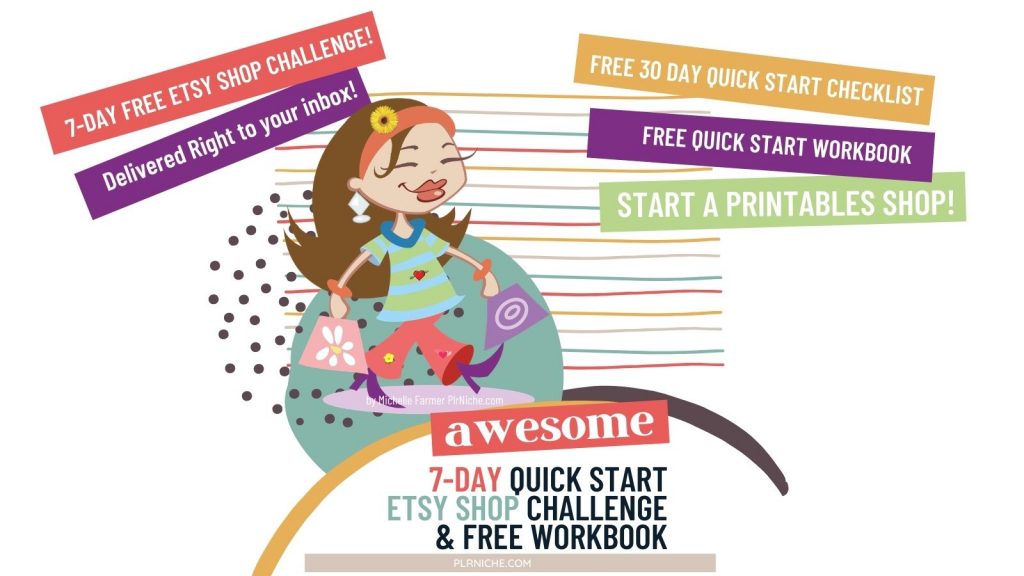
Welcome to the 7-Day Quick Start Etsy Challenge!
Day 1
In this challenge, I’m going to send out one email to your inbox every day with a lesson and at the end of the lesson, you will have homework giving you step-by-step instructions to follow each day.
Work at your own pace, save the emails, to refer back to after the challenge. Don’t worry about if you miss an email. I have a
The goal is to get 10 new items listed in our shop over the next 30 days and to get into a habit of listing regularly and consistently.
The important thing is to be consistent. Because consistency is the key to making money in your printables shop on Etsy.
I’ll also send along a worksheet for each day to fill out and make the challenge more fun!
Also, I will be using my HOUSE CLEANING PLANNER TEMPLATE in the challenge. I’m going to give you this template free in the link above. Woohoo! You can get the newest Canva Template in your 7 Day Etsy COURSE DASHBOARD! Save this link for easy access to your this training.
This is going to be AWESOME! If I can do, it so can you!
DAY 1 ~SET UP ETSY SHOP
What we are going to do here is set up your shop. Etsy makes this so complicated, that you will have to add some kind of listing to your new shop. I just made up something, a fake listing that I deactivated after the setup. I don’t know why they make you do that.
When I was ready to add a new listing to my shop. I first worked on the deactivated listing and then made it go live when I had everything the way I wanted it to be. (We’ll work on this listing in a couple of days.)
So just get your shop open, with your name and add your shop name. The rest you can work on later. I change my header all the time. You don’t even need one really. Start out simple and you can add more later. For now, we just want to open up our shops.
Go over to Etsy and sign up for a new shop.
And here’s a link to open one and get 40 free listings! Awesome Deal!
- Create a username: (Your name, you’ll add your shop name later)
- Create your password: and keep a note of what it is.
- Confirm your email address: Now you will get an email from Etsy, they want to check and make sure your email is correct. Click on the link they send you to confirm.
- Create a Profile: The next thing you’ll do is to create a profile and click on the edit, you’ll need a picture of yourself 400×400, jpg, gif, or png. Fill in some details about yourself and add your links to any other shops or websites you have.
- Click on Open Shop: Next click on Open your Etsy shop, fill in your Shop Preferences, and then hit save.
- Name Your Shop: You want to think a bit about what you want to name your shop. I would also do a quick Google search and make sure that name is not already taken on social media. Remember you can only change the name of your shop one time; otherwise, you’ll have to start a new shop.
- Add Your First Product:
- This will be a fake listing
- Add a title
- Category (search for Planners)
- Add any picture
- Type- will be digital
- Automatic renewal, or manual. I pick automatic
- Description, anything right now
- Section, this is the sections you’ll be adding in later, you can create those here or in your listing’s menu. Start with Planners, you can change this later.
- Tags are VERY important, you will always fill out every one of these, two words are better than just one. For now, don’t worry about it.
- Price let’s start with $7.99 just for fun
- Quantity I put 999
- SKU this is for your reference. I like to put the month and year so I know when I listed it.
- Add any PDF, Etsy won’t let you publish until you put something in here.
- You will also add a terms of service here as well. Make up another PDF that explains that this is for PERSONAL USE ONLY! They can not sell your item or upload it to Amazon. But don’t worry about that now. We’ll come back to this.
Set Up How You Get Paid and How You Pay Fees.
- You’ll want to add in your payment information so you can get paid from Etsy when you make a sale. They put it straight into my checking account which is nice.
- Then you’ll set up the billing part.
- Now you’ve opened up your shop!!
Yay!! Congratulations!!
Now let’s make your shop more inviting and do some house cleaning.
🤍Click on Shop Manager, that little icon that looks like a shop at the top right of your screen.
🤍You’ll want to go in and edit that fake product in your shop, just deactivate it, so only you can see it. You can edit it later when you have a real product to list.
🤍Shop Icon, now let’s make your shop Icon and Banner. I do this in Canva, the Shop Icon needs to be 500 x 500. When you download this, I like to upload it again to Canva. That way you can quickly add it to your Etsy listing graphics.
🤍Shop Banner, you’ll need to make a banner that’s 1200 x 300. I make that in Canva too. What I like to do is save all my banners in one file. I just copy one, then I have all my fonts just like I like them. And I can quickly make a new one each month. You want to keep things looking fresh and new.
Yes, you did it! You made it through the first day and you’ve set up your Etsy shop!! Way to go!
Homework:
1. Open up your Etsy Shop
2. Make a fake listing
3. Deactivate the fake listing
4. Make a Shop Icon
5. Make a Shop Banner
Download Your Workbook at the link below.
DAY 1_7 Day Quick Start Etsy Shop Challenge
💖Tomorrow is the scavenger hunt!
Hope you’re having fun!
Michelle